Blogging is a great way to share your thoughts, ideas, and experiences with the world. A blog is a platform where you can share your knowledge, opinions, and creativity with your audience. Blogging has become a popular way for people to establish their online presence, connect with others, and even make money.
Starting a blog either it be a fashion blog, music blog or lifestyle blog is a challenging process that requires time, dedication, and perseverance. However, with the right guidance, you can start your own blog from scratch and turn your passion into a profession.
I started blogging around 3 years ago and had no prior knowledge of the process. Through watching YouTube videos and reading online tutorials, I learned everything I needed to know about blogging, including how to use CMS (content management systems) like Blogger and WordPress. How to use paraphrasing tools, and how to track my blog’s performance with tools like Google Analytics and Search Console.
In this article, I’ll walk you through the process of starting your own profitable blog from scratch as a beginner. You’ll learn how to choose a good domain name and hosting, how to publish your first blog post, and how to get traffic to your blog. I’ll provide detailed, easy-to-understand instructions to help you make your first blog for free.
Let’s start with the first step of creating a blog.
Choosing a Niche
Choosing the right niche is an important step in creating a successful blog.
A niche is a specific topic or subject that helps to understand the purpose of your blog. It is very important to choose a niche in which you have passion and experience.
If you choose the right niche, you can connect with like-minded readers. When you choose a niche in which you have no expertise or experience, there’s a high chance that your blog won’t succeed.
Which niche is suitable for your blog?
If you are passionate and experienced about cooking, you can start your blog on a food niche and share your recipes. If you are a tech-savvy person, you can write about tech products.
Additionally, it is important to do a prior reasearch before choosing the niche. If no one is searching for things related to your niche, then there’s no point in starting a blog on that niche. You should also check for competition in the niche you choose. Chances of succeeding as a blogger are very low with high competition.
Moreover, it is not necessary to stick to one niche forever. You can learn new things with time and certainly write about other topics as well. A blog with content related to more than one topic is known as a multi-niche blog.
Finished choosing a good niche? Let’s jump to the next step.
Choosing a Right Domain Name
A domain name is a unique name on web address that identifies a specific website on the internet. English characters are used in the domain name. A domain name may also contain numbers and hyphens (-). People type the domain name in their web browser to directly access the website.
The domain name for Google is “google.com.” Likewise, the domain name for this Blog is “bloggernexus.com”.
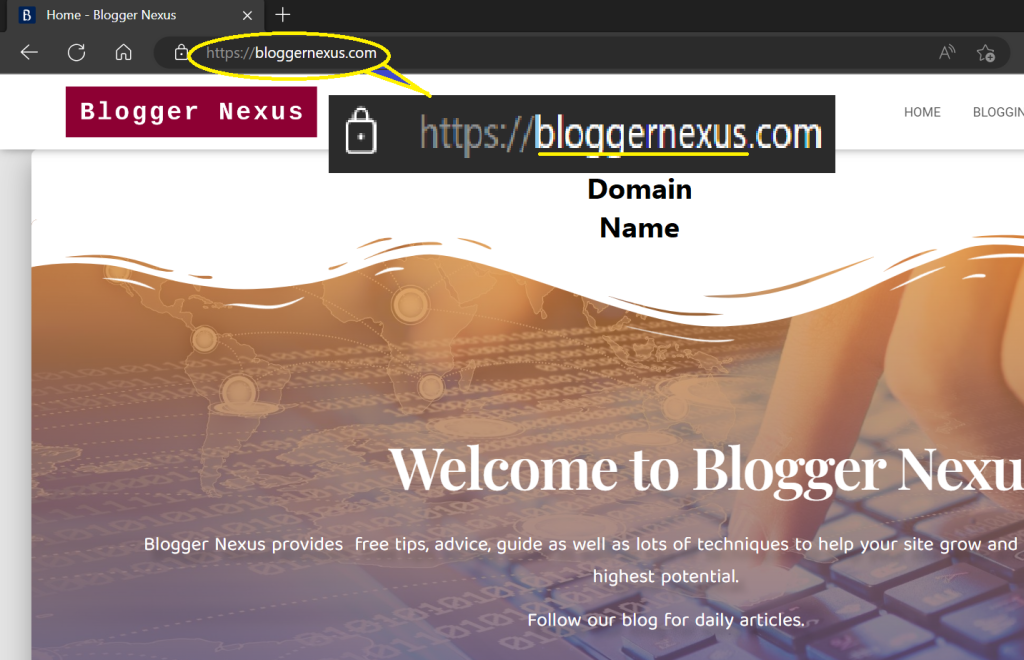
The thing that you see right after the domain name is called a domain extension.
The most common domain extension is .com, used for commercial websites. Other examples of TLDs include .org (used for non-profit organizations), .edu (used for educational institutions), .gov (used for government websites), .net (used for internet service providers and technology-related websites), and .info (used for informational websites).
There are also country-code Top Level Domains (ccTLDs) such as .co.uk for the United Kingdom, .in for India, and .fr for France, which indicates the website is related to that specific country.
Which domain extension should you choose?
Unless you are creating your website for any specific purpose like school, NGO (Non-Government Organization), or business. I will suggest you choose the .com domain extension.
Where to register a domain name?
There are many registrars to register your domain name. Search register a domain on Google and you’ll find tons of them. Make sure you are not highly charged for your domain. The standard domain registration/renewal charge is no more than $15.
Things to consider while choosing a domain name:
- It should be no more than 15 characters. Choose a domain that is shorter and easy to remember.
- It should represent your niche/industry. For example: If you are creating a blog related to food and recipes. Choose keywords like food, recipe, kitchen, taste, etc.
- Don’t use numbers. Your domain would look better without numbers in it.
- Consider not using hyphens. Use a domain like yoursite.com instead of your-site.com.
Choosing a Web Host
A web host is a company or an organization that stores the data and information of your website. They rent you memory space on their web servers. A user can access your website using the internet by accessing the information on the servers.
Choosing a web host for your blog is a very essential step to create your blog. You have to be aware of the speed, support and security while choosing a host.
How to choose a web host?
Follow these five steps to choose the best hosting for your blog:
- Recognize the requirements of your website. Determine the type and purpose of the website. A blog, for example, requires different features than an online store.
- Explore and compare hosting companies. Examine the various hosting providers available and compare their core services to find the best one for you.
- Review the main features. Review the features provided by the web hosting company, particularly those related to security and performance.
- Look for specialized support. Choose a web host that provides support 24 hours a day, seven days a week to make sure that you can get help as soon as you need it.
- Choose the best web hosting plan. Get a suitable hosting plan for your website. Consider the resources and the type of web hosting.
After taking all the things into consideration, you can choose a web host that could be a best-fit for your blog. You don’t need to rush and choose an expensive hosting plan. You can upgrade your hosting as your blog traffic grows.
Never spend a big money to start your blog. We are not starting a business here, but rather a functional website to write content, publish it, and grow.
Choosing a CMS (Content Management System)
Even if you are a master of coding, you cannot always code a webpage and upload it to your website as it takes a lot of time.
This is where a CMS (Content Management System) shows its magic. You just need to write your post and publish it and CMS will do the rest of the work itself.
What is a CMS?
A CMS (Content Management System) is a software application that helps users to create, edit and publish content on their website or application.
CMS provides users with a lot of tools to help manage, create, organize and publish their content. There are different type of CMS, but the one we use for websites and blogs is known as WCMS (Web Content Management System). [quads id=4]
Types of CMS:
There are many CMS like WordPress, Joomla, Hubspot and Drupal. But, the most popular and easy to learn for beginners is definitely WordPress.

WordPress is a free and open-source content management system (WCMS) built on PHP and MySQL. This software is highly customizable, with a wide range of themes and WordPress plugins at your fingertips. It is the most widely used blogging platform.
If you are a beginner, then WordPress is the way to go.
We will cover the rest of the steps in this article by choosing WordPress. Let’s start with the installation.
Installing WordPress
There are mainly three ways to install wordpress on your website.
- Choosing a web host with auto-wordpress installation.
- Using Softaculous Apps Installer.
- Installing by using manual FTP (File Transfer Protocol)
You don’t need to do much if you choose a web host with auto-WordPress installation. But the easiest way to install wordpress on your blog is by using Softaculous.
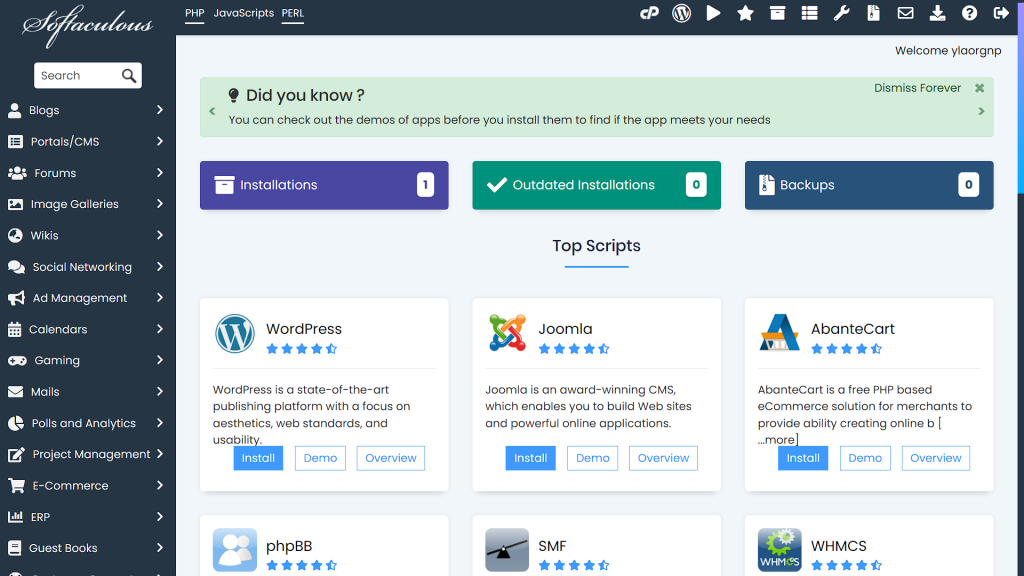
Softaculous is an auto-apps installer software that helps users to install various apps including CMS like WordPress, Joomla and Drupal.
How to Install WordPress using Softaculous?
Using Softaculous is the easiest and most convenient way to install WordPress on your website. You can follow these simple steps to install WordPress on your site using Softaculous in under 10 minutes.
1. Log into your Control Panel (cPanel) using correct login details.

2. Search for the Software section and click on Softaculous Apps Installer.

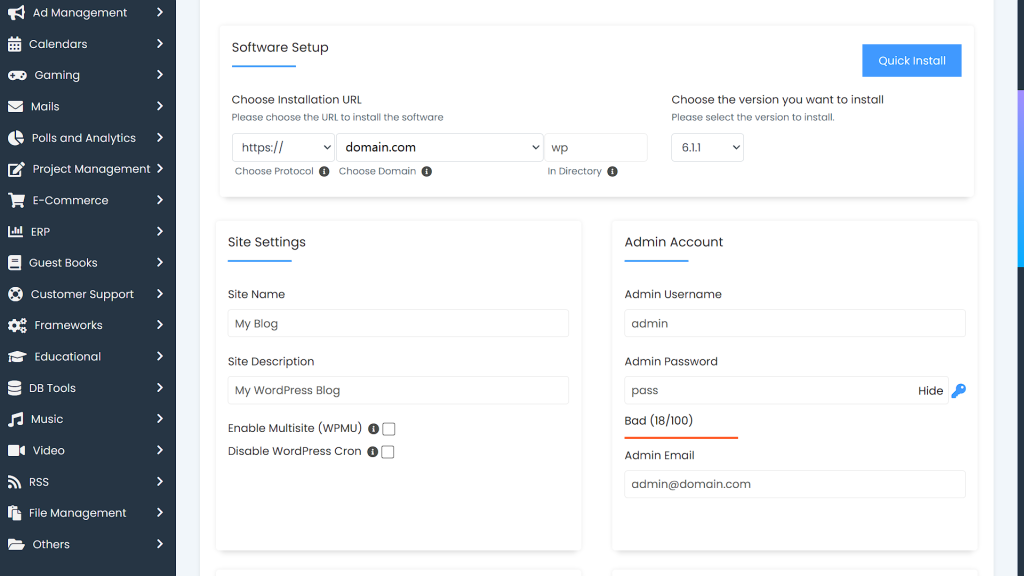
3. After that find WordPress and Click Install
4. Fill up all the details like admin username and password. Keep the directory clear and hit install. You don’t need to install themes or plugins. (Phentermine) You can change that after installation too. I will teach that in the next step.
After following the above outlined steps, you can successfully install WordPress on your blog.
What’s next? Well, there’s a lot to do.
Installing Theme and Plugins
In Blogging, Content is King and Design is the Queen
– Someone
You must be very careful while choosing a theme for your blog. Your theme plays a main role regarding the design, speed, and performance of your blog.
One of the most common mistakes newbie bloggers make is buying premium themes and plugins. Never buy too many premium themes and plugins when starting a blog. It’s more important to focus on creating quality content for your blog. [quads id=1]
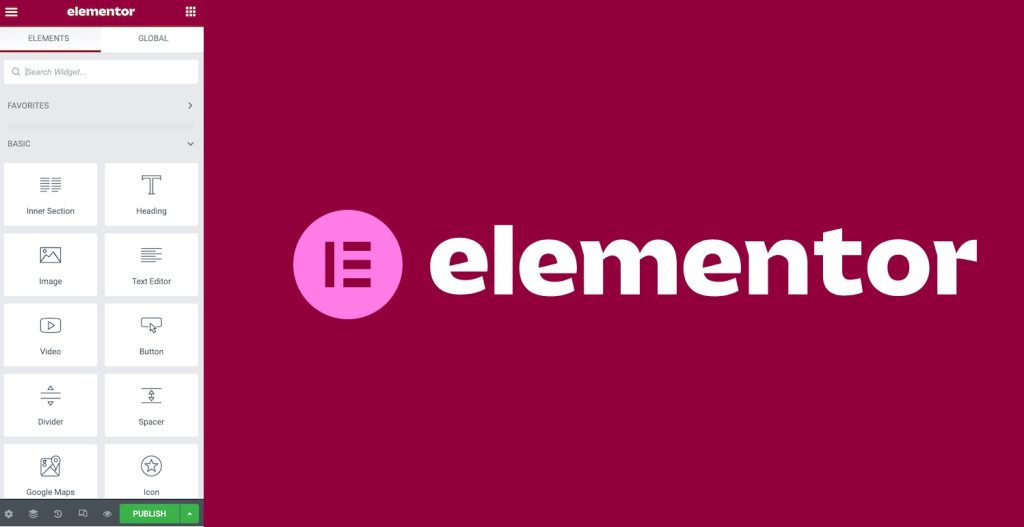
Always use themes that are fast and responsive. If you are also concerned about your homepage design, elementor can help you create a stunning one. Remember that the key to success is simplicity.
Also, don’t use more plugins than required. Here is the list of five best themes for your wordpress blog. The WordPress themes in the following list are not only free but also fast and responsive. Choose one that fits your needs.

Best free wordpress themes for blogs [Top five]
- GeneratePress: GeneratePress is a lightweight, fast and user-friendly WordPress theme with strong compatibility with page builders and popular plugins, including WooCommerce. It offers many features such as 60+ color control, dynamic typography, multiple navigation and sidebar options and various widget areas. Available in over 25 languages.
- Astra: Astra is a fast, customizable, beautiful WordPress theme suitable for blog, personal portfolio, business website, and WooCommerce storefront. It is lightweight (less than 50KB) and SEO-friendly.
- Neve: Neve is a fast, customizable multi-purpose theme for various types of projects, including blogs, businesses, e-commerce, portfolios and more. It is also lightweight and SEO-optimized, and works well with page builders like Elementor and Beaver Builder.
- OceanWP: OceanWP is a versatile and lightweight theme for creating various types of websites, including blogs, portfolios, business sites and e-commerce shops. It offers features such as fast loading speed, responsive design, RTL and translation support, and unique WooCommerce options. The theme is also compatible with popular page builders and developers can easily customize and extend the codebase.
- Hestia: Hestia is a professional WordPress theme for various types of businesses, portfolios, and freelancers. It features a multipurpose one-page design, a widgetized footer, and compatibility with various plugins and page builders like Elementor. It is responsive, SEO-friendly, and uses Material Kit for design.
You can choose one of the above themes for your blog. All of the WordPress themes listed above are the most popular for blogs. Not only that, these are one of the fastest, most responsive and SEO-optimized themes you can find. Also, all of them are free-to-use.
Let’s talk about plugins. You should never use too many plugins while starting your blog. This is one of the main reasons your blog slows down on speed.
Also, never install plugins that your blog doesn’t need. There are some plugins available that you must use on your WordPress blog. These plugins are most essential regarding design, SEO, and creating pages. Here’s the list of five free plugins you should use while starting your blog.
Best free wordpress plugins for blogs [Top five]
- W3 Total Cache: W3 Total Cache is a web performance optimization framework for WordPress that improves SEO, user experience and website performance by reducing load times and integrating with content delivery networks. Trusted by millions of publishers and developers worldwide, it is the go-to solution for optimizing WordPress websites.
- Yoast SEO: Yoast SEO is a must-have WordPress plugin that helps optimize websites for search engines by providing comprehensive tools for content, meta tags, images, and more. It also offers analysis, readability checks, and social media previews to make sure that your website is compliant with Google’s search engine optimization guidelines.
- Elementor: Elementor is another essential WordPress plugin that allows users to easily create and design custom pages and templates using a drag-and-drop interface. It includes a variety of design elements such as text, images, buttons, and more. It is mobile-friendly and fully responsive. It also has an easy-to-use live editing mode that allows you to see changes in real time.
- WPForms: WPForms allows you to quickly and easily create beautiful contact forms, feedback forms, subscription forms, payment forms, and other types of forms for your website. You can use these forms on your blog’s contact pages and footers.
- Akismet Spam Protection: Akismet is a must-have WordPress plugin that detects and filters spam in comments, forms, and trackbacks. It automatically checks all comments and filters out those that appear to be spam. It also allows users to review spam comments and decide whether to approve or delete them.
Customizing WordPress Blog
Customizing your WordPress blog is a very important step in creating a beautiful blog site. If your blog looks messy, it won’t create a good impression to the visitors.
Furthermore, customizing your blog can improve its functionality, allowing you to engage with your audience and achieve your goals. Adding unique design elements, customizing the layout, adding features and functionality, and integrating with other tools and services are all examples of this.
Customizing your blog can help you in developing a stronger online presence and increasing the success of your blog.
How to customize your wordpress blog?
The first step in customizing your WordPress blog is installing the necessary themes and plugins. Themes and plugins play a vital role in determining your blog’s design and speed.
I have already mentioned how to install themes and plugins above. Let’s move on to your blog customization. [quads id=3]
Customizing your blog design
Go to the “Appearance” tab in the left-hand menu of your blog administrator area for basic website customization. Next, select “Customize.”
When you do this, a screen will appear with your blog’s home page on the right and the customization menu on the left. Your customization options may differ slightly if you use a different theme than the one I’m using for this example.
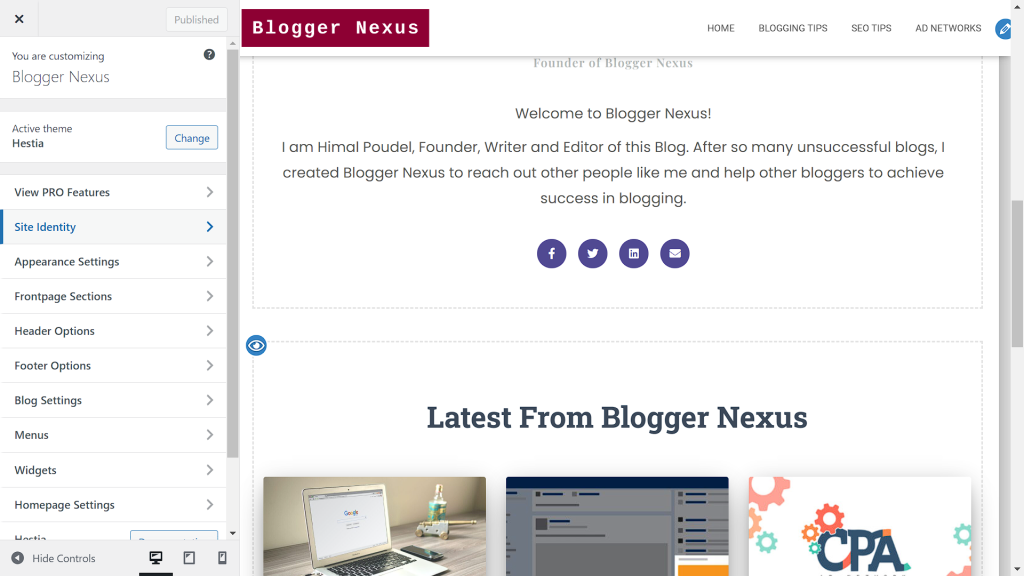
You can customize a lot of things from this screen. Let’s explore each of them individually.
Site Title and Tagline
You can change the title and sub-title that appear at the top of your blog in this section. You can also remove these entirely by unchecking the “Display Header Text” box.
Colors
You can change the color of your header’s text and background here.
Header Image
You can use this option to add an image to your header. Please keep in mind that each theme has a different recommended image size for the header.
Navigation
You can select which of your navigation menus to use here. The menu must already be created, which I will show in the next step on this page.
Widgets
There are lots of widgets available on WordPress that you can add to your sidebar, footer, and navigation. Some of the widgets are calendar, recent posts, pages list etc.
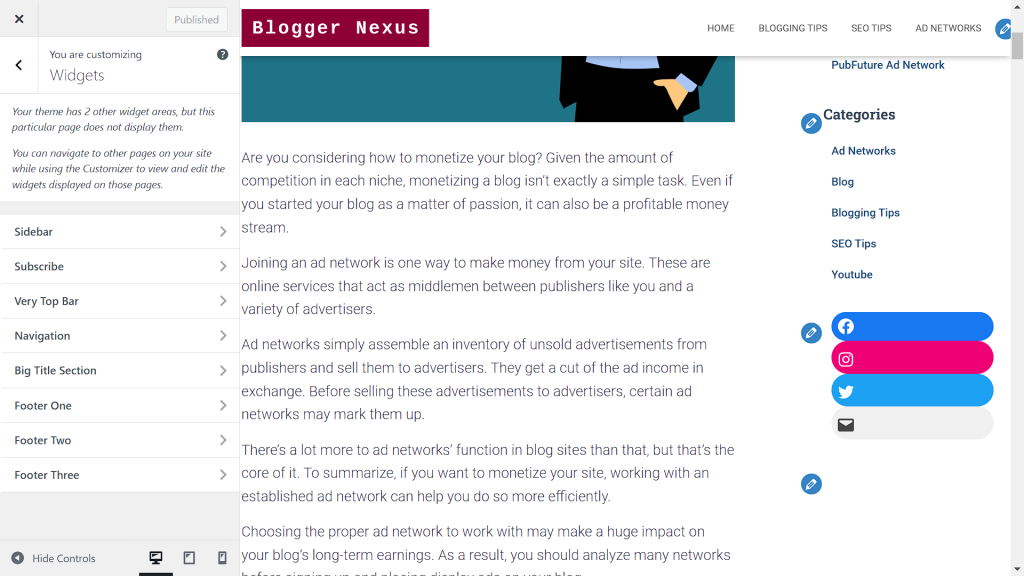
Keep in mind that adding more widgets takes up more space so it may slow down your website. Only use the widgets that are necessary. Remember, simplicity is the key to success.
Menus
Adding menus to your site is very important for users’ navigation. It helps the users to find what they’re looking for and makes your blog look amazing.
Follow this detailed guide to creating a menu for your WordPress blog.
Read Here: How to create a menu in wordpress?
Now that we are done with the blog’s customization, let’s move on to our next topic. Our next topic is about quality content writing for your blog.
Writing and Publishing
Creating and designing a blog is not enough. Users won’t visit your website unless they find what they are looking for. So, it is very important to write a good content for your blog.
You also have to make sure that you follow search engine guidelines while writing your post. If you do so, you can rank higher and get organic traffic.
If you have an idea for a post, don’t hurry into writing. First, do some reasearch and start. If you’re writing about something that no one’s searching for, then there is no point in writing.
How to write a SEO-friendly blog post?
There are 8 steps to write a seo-friendly website content or blog post. I will list them accordingly for your ease.
1. Selecting a Topic:
You should have a clear concept of what you’re writing. If you don’t know about the topic you’re writing about, the article may not turn out very good. So, select a topic in which you are confident. [quads id=2]
2. Keywords Researching:
Never rush into writing immediately after selecting a topic. You should do a prior keyword research before writing. By doing so, you can know what people are searching for. You can use Google Keyword Planner tool for keywords researching.
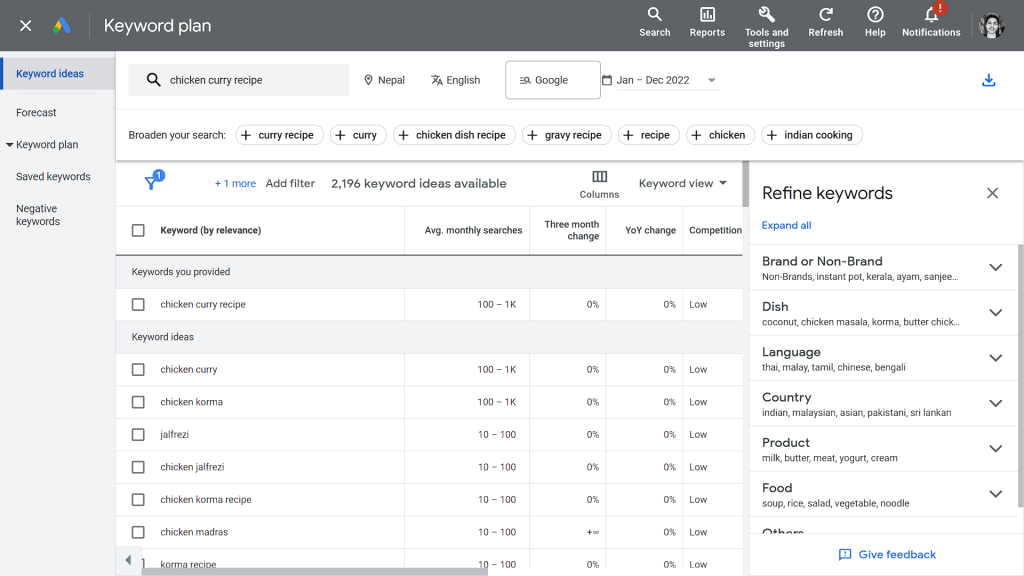
In the above image, you can see that google ads is showing a whole bunch of keyword ideas after I search for “chicken curry recipe”. You can search for your own term and get keyword ideas.
Also, you can filter the keywords to cut down the list. For example, you can include and exclude some terms and filter the competition too. After you’re done, you can export the keywords in .csv file and use them while writing your blog post.
3. Writing a Headline (Title):
Headline is what attracts the visitors to your blog post. If your headline is interesting, people will click on it and land on your blog post. Even if you write a great post but compromise on the heading, you won’t get the results.
Here are the few things to consider while writing headline for your blog post.
- Keep it short. Your headline must be 60 characters or less.
- Include numbers. “10 Ways to Make Good Salad at Home” sounds way interesting than “Ways to Make Good Salad at Home”
- Use Adjectives. You can make the above title more interesting by putting an adjective like “10 Fabulous Ways to Make Good Salad at Home.”
- Include keywords. Always include the keywords in your title. Using long tail keywords in title can drive more visitors.
4. Creating an Outline:
Next step is creating a beautiful outline for your blog post. Your blog post should not look like news story.
Use the keywords and create multiple sections and sub-headings to your article. Your blog post should include answers to all the queries that user may search. [quads id=2]
5. Writing:
Writing is the most important part. How you write your blog post defines its success. Few things you should consider while writing a blog post are:
- Use active voice. Try to avoid passive voice because readers feel easy to read and understand on active voice.
- Make the sentences short.
- Change the paragraphs after 3-4 sentences.
- Separate the text by using subheadings. Don’t use more than 300 words per subheading.
6. Search Engine Optimization:
There are mainly two types of SEO, on-page SEO and off-page SEO.
On-page SEO plays a vital role in writing your blog post. You should always link the complicated terms so that users can directly click to learn about them. Another important thing is using alternative text for images, it helps search engines to know the context of the image.
Read More: On-Page SEO Checklist
7. Proofreading:
Proofreading is a very important step in creating a blog post. It is the step of checking for any possible grammatical and writing errors made by the author.
How to proofread a blog post?
You can use various tools to proofread a blog post before publishing. I’ll recommend these two tools:
- Yoast SEO: Yoast SEO is a WordPress plugin that helps to write you a SEO-friendly blog post. It checks for subheadings distribution, transition words, word complexity, passive voice, sentence length and more. However, it doesn’t check plagiarism or grammatical errors.
- Grammarly: What Grammarly has is what Yoast SEO lacks. You can use the web application or browser extension of Grammarly to check for possible grammar and punctuation errors. You can also use Grammarly to check for plagiarism in your blog post.
8. Publishing:
Finally, it is the time to show your work to the public. Assign the categories and tags before publishing the blog post. Also, make sure that the link has keywords that you researched for.
Lastly, check if there are any mistakes or missing alternative texts to the images. After completing, publish the blog post to your website.
What to do After Publishing a Blog Post?
Publishing the article is not the final step in creating a blog post. For a blog post to be successful and drive traffic, there are few things you must do immediately after publishing.
I have listed some of the most important things you have to do after publishing a blog post.
- Regularly update your blog post.
- Share your blog post on social medias to drive traffic.
- Link the blog post to other articles (Internal Linking).
- Write for other sites as guest author for backlinks (External Linking).
- Reply to readers’ comments and queries.
Conclusion
To conclude, starting a blog is not harder as you might think. With right guidance, work and perseverance, you can start your own blog and make money with it using various ad networks and affiliate programs. As mentioned above; choosing a niche, a right domain name, web host and CMS are very important. You can use WordPress for your ease as I do. Writing only is not enough and you must keep your blog posts updated and SEO friendly.
If you have any confusion or questions, feel free to comment below. I’ll help you out.
You can also share this article to your friends who are interested to start a blog.